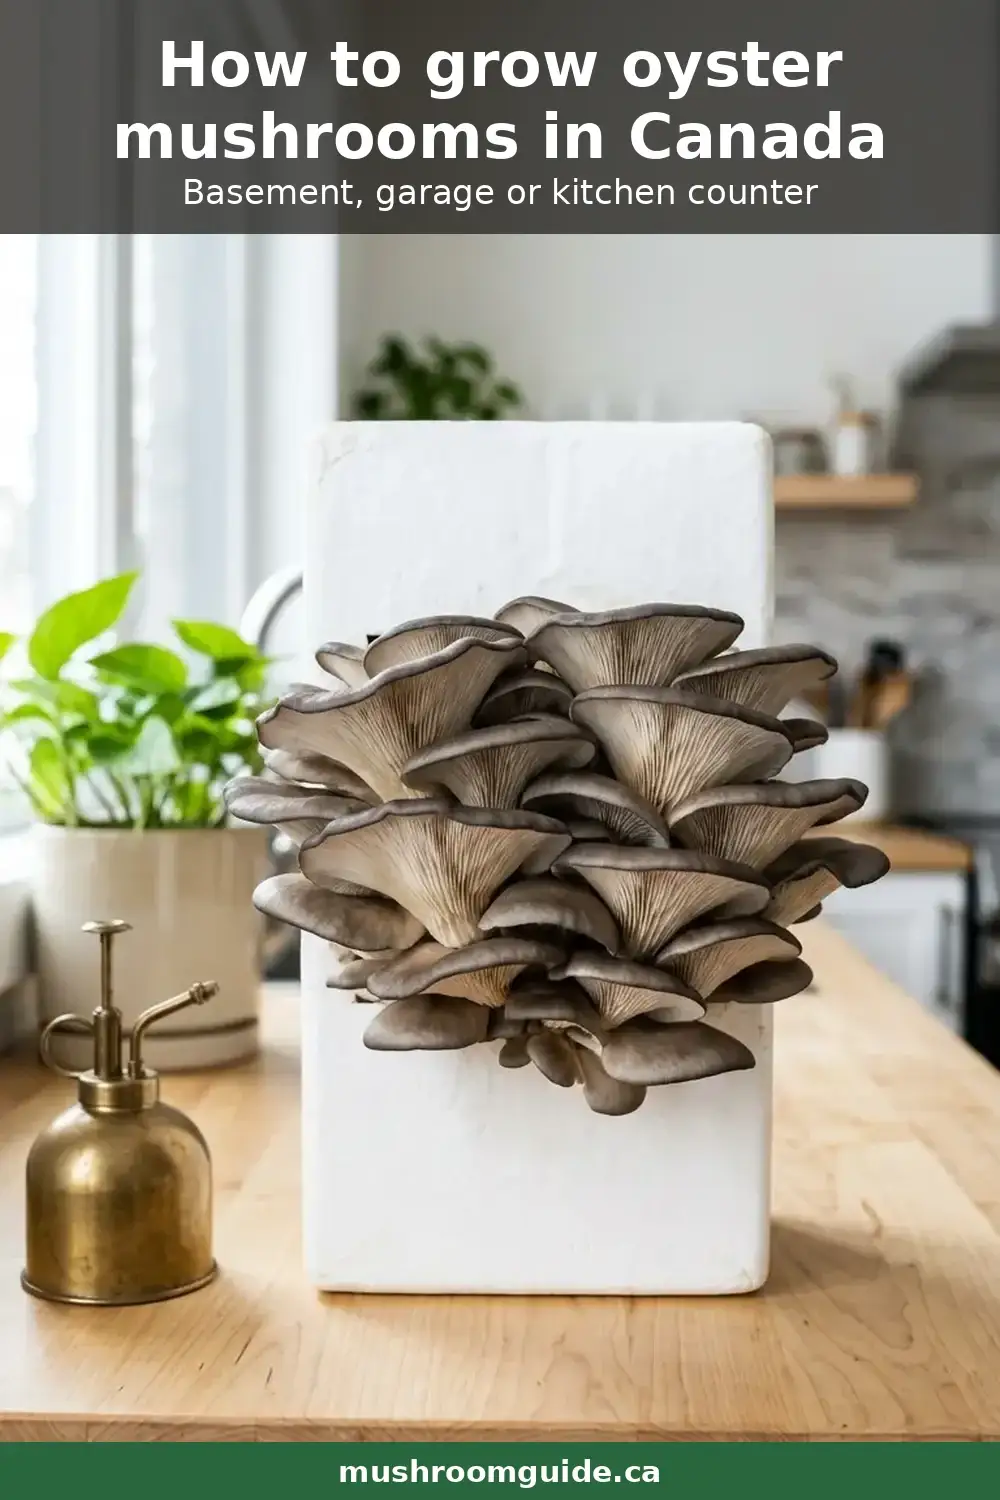
How to grow oyster mushrooms in Canada
Prices and availability checked . Canadian retail moves and suppliers change — verify before buying.
Most “how to grow oyster mushrooms” content online is written from California, Texas, or northern Europe. That’s a problem if you’re trying to grow mushrooms in Edmonton in February, or in Toronto in August, or anywhere with the kind of humidity and temperature swings that define the Canadian year.
This guide is Canada-first. Climate zones, Canadian suppliers, what works in an unheated basement versus a heated apartment versus an insulated garage. Every section starts from “what’s actually achievable in this country.”
If you’ve never grown a mushroom before, this is the right post to read first. If you’ve already grown oysters and want a deeper dive into substrate or yield, see our substrate calculator and yield estimator.
TL;DR
- Best species for first-time Canadian growers: grey oyster (Pleurotus ostreatus) — most forgiving, tolerates the widest temperature range.
- Best method for first-time growers: the bucket method on pasteurized straw. Cheap, almost contamination-proof, no pressure cooker needed.
- Best location in a Canadian house: an unheated basement (winter) or a cool north-facing room (summer). Aim for 13–20 °C.
- Best season to start: late fall to early spring. Summer humidity
- heat in southern Ontario, Quebec, and the Maritimes makes contamination control much harder.
- Spawn: order from a Canadian supplier (see list below) to avoid customs delays.
- Total cost to start: ~$60–100 for spawn + bucket + straw + miscellaneous. Reusable indefinitely.
Step 1: Pick the right species for your climate and skill level
Not every oyster suits every Canadian region or skill level. The four varieties worth considering for your first grow:
| Species | Fruiting temp | Speed | Best for | Avoid if |
|---|---|---|---|---|
| Grey oyster (P. ostreatus) | 10–24 °C | Medium | First-time growers anywhere in Canada | — |
| Blue oyster (P. ostreatus var. columbinus) | 10–18 °C | Medium | Unheated basements, fall/winter grows | Hot summer apartments |
| Pink oyster (P. djamor) | 18–30 °C | Fast | Heated apartments, summer grows | Cool basements, slow workers (very narrow harvest window) |
| Yellow oyster (P. citrinopileatus) | 18–30 °C | Fast | Same as pink — bright yellow is the only real difference | Same as pink |
For a first grow, get grey oyster. It tolerates more variation than any of its cousins and gives you the widest safety margin.
Step 2: Pick your method
There are three common methods for oyster cultivation. Difficulty rises as you go down the list, but so does yield-per-effort.
Method A: Bucket on pasteurized straw (recommended for first-timers)
- What it is: A food-safe 5-gallon (19 L) bucket with holes drilled in the sides, packed with hot-water-pasteurized straw mixed with grain spawn.
- Why: No pressure canner required. The hot-water pasteurization is enough to suppress competing molds for oyster, which is an aggressive colonizer.
- Yield: ~1–2 lb (450–900 g) per bucket across two flushes.
- Time to first harvest: 4–6 weeks.
This is the method we’ll walk through in detail below.
Method B: Grow bag on Masters Mix
- What it is: Pre-made filter-patch grow bag filled with a 50/50 sterilized mix of hardwood pellets and soybean hulls, inoculated with grain spawn.
- Why: Higher yield, faster colonization, cleaner workflow.
- Why not (for first-timers): Requires pressure sterilization in a 23-quart pressure canner. See choosing a pressure canner for growing mushrooms. More expensive equipment upfront.
- Yield: ~2–3 lb (900–1400 g) per 5 lb (2.3 kg) bag.
Method C: Outdoor straw bed
- What it is: Layer pasteurized straw + spawn under a shaded tree or against a north wall.
- Why: Lowest-effort once set up; multi-year fruiting.
- Why not (for first-timers): Only fruits during specific weather windows. Most of Canada’s outdoor fruiting season is roughly mid-May to mid-October — you’ll wait months between flushes.
Step 3: Buy your supplies (Canadian)
Spawn
Order spawn from a Canadian supplier to avoid CBSA delays at the border (US-to-Canada mushroom-spawn shipments can sit for 1–3 weeks).
- Sporeworx (Toronto): Wide species selection. Reliable shipping across Canada.
- MycoSupply (BC): Smaller selection but solid quality.
- Forest Garden Mushrooms (Vancouver Island): Limited selection; good if you’re in BC.
- Earthworks Mushroom Co. (Manitoba): Newer, prairies-friendly.
- North Spore (US): Excellent variety, ships to Canada — expect duty and delays.
For a first grow, you want 1–2 lb of grey oyster grain spawn — enough for 2–3 buckets.
The rest
| Item | Where | ~$CAD |
|---|---|---|
| 5-gallon food-safe bucket with lid | Home Depot, Canadian Tire | $8 |
| Drill + 1″ hole bit | Hardware store or borrow | — |
| Wheat or oat straw (1 small bale) | Local feed store, Tractor Supply, sometimes Home Hardware | $10–15 |
| Pillowcase or laundry bag (for pasteurization) | Have one | — |
| Hot water source (kettle + bathtub, or a stockpot) | Have it | — |
| Garbage bag (large) | Have it | — |
| N95 mask | Pharmacy | $5 |
| Optional: spray bottle | Dollar store | $2 |
Total: ~$60–80 including spawn. Bucket is reusable forever.
Step 4: The bucket method, step by step
Day 1: Prepare your bucket (15 min)
- Drill 1″ holes in the bucket: roughly 30–40 holes total, in a diamond pattern, starting 4″ from the bottom and stopping 2″ from the top.
- Wash the bucket with hot soapy water. Rinse. Let dry.
Day 1 (continued): Pasteurize your straw (2.5 hours)
The temperature and times below are what growers commonly run and what the cultivation literature converges on — not thresholds from a controlled trial. Treat them as well-worn practice.
- Cut or break the straw into 1–3″ pieces. Aim for 1.5–2 kg of dry straw per bucket.
- Loosely stuff the chopped straw into a pillowcase or laundry bag. Knot the top.
- Submerge the bag in hot water at 65–74 °C / 150–165 °F for 1 hour. A bathtub plus several kettles of boiling water works. So does a large stockpot if your tub isn’t an option.
- Drain the bag for 30–45 minutes. When you squeeze a handful of straw, you want a few drops of water — not a stream, not nothing. This is “field capacity.”
Day 1 (continued): Inoculate (15 min)
- Wash hands. Wear an N95 mask — grain spawn releases dust and sometimes spores.
- Open your bag of grain spawn and crumble it into loose grains in a clean bowl.
- In the bucket, layer:
- 4″ of damp straw
- A generous handful of spawn (sprinkled evenly)
- 4″ of damp straw
- Spawn
- Repeat until the bucket is full
- Finish with a layer of straw on top
- Press down gently — firm contact, not packed solid.
- Snap the lid on loosely (don’t seal it — the mycelium needs to breathe).
Total spawn for one bucket: growers commonly use 10–20% of hydrated straw weight — the weight after soaking and draining, not dry weight. For 2 kg of drained straw, that is 200–400 g of grain spawn.
More spawn colonises faster and leaves mould less opportunity; less spawn costs less. Straw is pasteurised, not sterilised, so it is a race — but the bottom of that range is a real option if spawn is expensive where you are.
Days 2–21: Colonize
- Put the bucket somewhere dark, 18–24 °C, with no direct sunlight. A basement, closet, or under a desk all work.
- Don’t open it. Don’t mist it. Don’t check it daily. Leave it alone.
- After 10–14 days, the straw should look mostly white with mycelium visible through the holes. By day 18–21, it should be fully colonized — uniformly white, no green or black patches.
If you see green mold (Trichoderma) spreading: contamination. Small spots can be cut out; large coverage means start over. Cleaner work next time.
Days 21–35: Fruit
- Move the bucket somewhere with fresh air, indirect light, and 13–20 °C (basement, garage, north-facing room — see Section 5 below for Canadian specifics).
- The lid stays on. Mushrooms will pin out of the holes.
- Mist the bucket exterior 1–2× daily to keep humidity around the holes high. A spray bottle is enough.
- Pins emerge from the holes within 5–10 days. Once you see pins, continue misting; the cluster will mature in another 5–7 days.
Harvest
Use our variety-specific harvest guides to time it right. Generally: pick when caps are mostly flat and edges are just starting to lift. Twist the cluster gently to detach — don’t cut, you risk leaving a wound that invites contamination.
After the first flush, soak the bucket in cold water for 12 hours to rehydrate. Drain, return to fruiting conditions. A second flush follows in 10–14 days.
A third flush is possible but usually small. Most growers compost the bucket contents after flush 2 and start fresh.
Step 5: Canadian-specific environment notes
Winter (November–March)
The dominant Canadian growing season for indoor oysters. Here’s why:
- Indoor humidity drops. Furnace-heated homes hit 20–35% RH — too dry for oyster fruiting. The bucket method partly fixes this (the bucket walls create a humid microclimate), but you’ll need to mist more often.
- Basements stay 13–18 °C. Perfect for grey, blue, and even king oyster.
- Less competing mold pressure. Drier air = less airborne contamination.
- Best location: unheated basement, against an inside wall (not against an exterior wall where condensation pools).
Summer (June–August)
The hardest season:
- High ambient humidity in southern Ontario, Quebec, and the Maritimes means more contamination pressure. Trichoderma loves warm, humid air.
- House temperatures over 24 °C stall grey and blue oyster fruiting; switch to pink or yellow oyster if you must grow in summer.
- Best location: north-facing room with windows closed; or basement if you have one; or skip the summer entirely.
Spring and fall
The easy seasons. Indoor temperatures naturally settle into the 12–22 °C range, humidity is moderate, and contamination pressure is moderate. If you’re starting your very first grow, start in October or April.
Regional notes
- BC south coast (Vancouver, Victoria, lower Fraser Valley): Year-round mild temperatures and high ambient humidity = year-round grows possible, but watch for contamination.
- Prairies (Saskatoon, Calgary, Winnipeg): Cold winters, dry air. Heat the room slightly if your basement dips below 12 °C; humidity is your friend here — drier air = cleaner grows.
- Ontario/Quebec urban (Toronto, Ottawa, Montreal): Most balanced Canadian growing environment. Basement grows are easy from October to May.
- Atlantic Canada (Halifax, Moncton, St. John’s): Damp year-round conditions favor mushroom growth but also mold contamination. Use a small dehumidifier in the colonization room if you’ve had repeat contamination issues.
- Far north (Whitehorse, Yellowknife, Iqaluit): Indoor growing works well year-round (the dry winters are actually a benefit for contamination control). Heat your fruiting space to 13–18 °C; insulate.
Step 6: What to do if it goes wrong
Green mold (Trichoderma)
The most common problem. Cause: contamination during inoculation, or incomplete pasteurization.
- Small patches (<10% of surface): cut out with a sterilized knife, continue.
- Large coverage: discard and start over.
Prevention: hotter pasteurization water, more spawn, work in a less-dusty room.
Cobweb mold
Pale grey, fast-spreading, looks like cobwebs.
- Treatment: spray affected area with diluted hydrogen peroxide (3% H₂O₂ diluted 1:4 with water).
- Prevention: lower humidity in the colonization room; more FAE.
Pins emerge but never grow into mushrooms
Cause: humidity too low, or FAE too low (high CO₂).
- Mist more frequently.
- Crack the lid slightly to increase air exchange.
- Move to a different room if the air is too still or too dry.
No pins after 3 weeks at fruiting temperature
Cause: substrate isn’t fully colonized, or the temperature is wrong.
- Wait another week — sometimes colonization is slower than expected.
- Drop the temperature 5 °C for 48 hours as a fruiting trigger.
Mushrooms grew but tasted terrible (sour, ammonia)
Cause: harvested too late. The cluster was already past prime and starting bacterial breakdown.
Solution: harvest earlier next time. Use our variety-specific harvest guides.
Step 7: Where to go from here
Once you’ve done one successful bucket grow:
- Try a second species. Lion’s mane and king oyster are the natural next steps. Both work in 5 lb sterilized grow bags.
- Build a fruiting chamber. A shotgun fruiting chamber (Rubbermaid tote + perlite) costs $40 and lets you run 6–10 grow bags at once.
- Upgrade to Masters Mix. Higher yield, more reliable. Requires a pressure canner that holds 15 PSI.
- Outdoor inoculation. Inoculate hardwood logs in spring for perennial harvests starting the following year.
Spore safety reminder
Wear an N95 mask when handling spawn, opening colonized buckets, and harvesting. Oyster mushrooms are heavy sporulators and repeated unmasked exposure causes hypersensitivity pneumonitis (“mushroom worker’s lung”). This isn’t theoretical — it’s the most common occupational illness among commercial mushroom workers, and hobby growers can develop it from weekly harvests over a year or two.
Open colonized buckets and fruiting chambers in well-ventilated rooms. Don’t open them in bedrooms or in spaces where you spend hours each day.
Cost recap
| Cost | |
|---|---|
| Bucket + drilling | $8 |
| Straw (1 small bale, enough for 4–5 buckets) | $10–15 |
| Grain spawn (1 lb, enough for 2 buckets) | $25–35 |
| N95 mask | $5 |
| Miscellaneous (spray bottle, etc.) | $5 |
| Total for first grow | ~$55–70 |
| Yield per bucket (2 flushes) | 1–2 lb fresh oysters |
| Equivalent grocery store price (in Canada) | $20–40 per bucket |
Net: pay it back in 2–3 grows, then it’s pure value from there.
Next: the bucket method in detail with photos (coming soon), when to harvest blue oyster mushrooms, when to harvest pink oyster mushrooms, and substrate calculator.
Safety & data: Mushroom worker’s lung: N95 spore-safety guide — the spore safety every grower needs. Common mushroom contamination — spot it and fix it. Mushroom growing conditions chart — temperature, humidity & timing for every species.